|
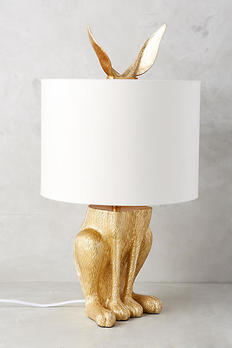
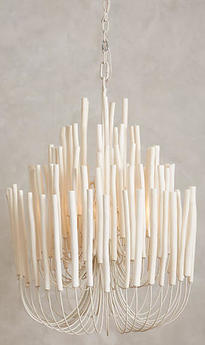
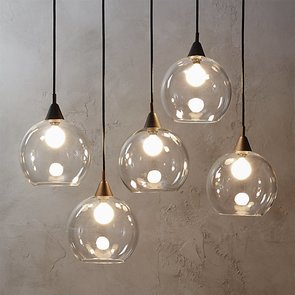
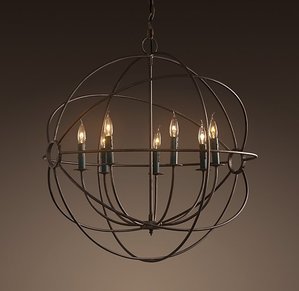
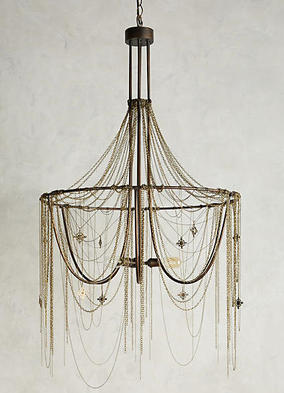
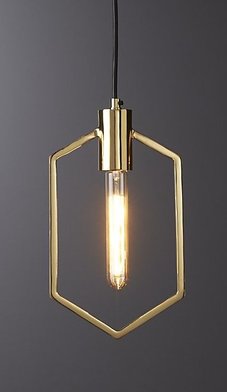
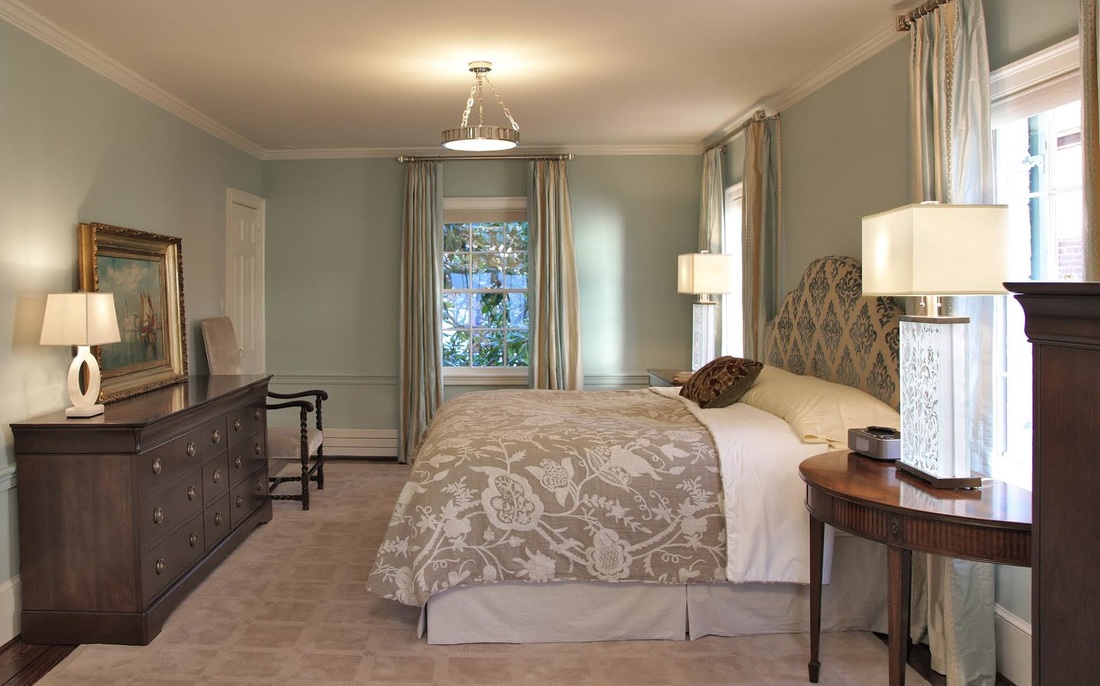
Why do you hire a designer? With all the accessibility of products on the internet you might ask yourself why hire a designer? Can't I do this myself? When undertaking a large or small project it's the details that matter. Let's look at lighting. Lighting is critical, and so often overlooked when planning a room. Without the correct placement of outlets , recessed wall washers and task lighting your rooms will never look right. Lighting is what makes a room come alive. It should be subtle and deliver a feeling of well being. This involves doing a furniture plan and thinking abut all the different aspects and choices of lighting. Walls need to be washed with light to accent pictures, as well as important cabinet pieces and architectural details like mantles, bookcases and dark areas. They should not be the large recessed lights that give an ugly airport runway effect, but small and able to be swiveled to hit the walls at different angles. There have been so many strides made with the small 3" recessed LED lights now that run cool and don't need bulb changing often for years at a time. It's also important to have task lighting, lamps are a must, sconces add light at a different height and can be decorative or subtle depending on your preferences. Chandeliers are also an element that adds layers of light. Having lighting sources at different heights in a room is essential. Kitchen and bathroom lighting needs to be thought through very carefully.
Lighting your face when you are putting on makeup, the correct height for sconces to achieve this as well as waterproof lighting in showers are essential. Kitchens need adequate under cabinet lighting for task areas as well as hanging pendants, say over an island or kitchen table. Recessed light should again be used to wash the cabinetry and walls. Just putting in lines of recessed lighting is not the answer and looks harsh, down lights make people look tired and are unflattering. Hope this helps in making the right choice for your home project. Let us know what you thought and leave a comment or follow us on Instagram @dennison_dampier. Until next time!
0 Comments
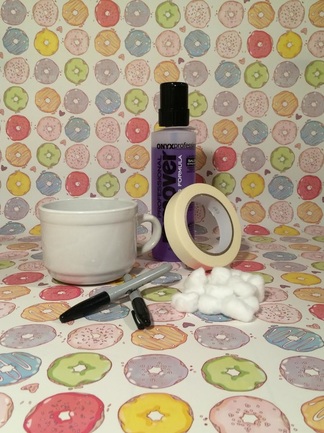
These are the supplies you will need: - Mug - Sharpie pen - Painters tape - Cotton balls - Nail polish remover This is a fun and very easy DIY that can be personalized for any occasion. It makes for a great gift and an inexpensive party favor! Before you start drawing make sure to wipe down your mug with a wet cloth to remove any dust. Research a few clip-art photos of animals you like or phrases you'd want to use. Then get to drawing. Once you select the design you want go ahead and write it with the marker. ** If you mess up, don't worry! use the cotton balls and nail polish remover to fix any mistakes. After you are all done, place the mug in a cold oven and set the temperature to 425 degrees and bake it for an hour. Remove carefully when done and let it cool before using. Voila! A personalized mug just for you...or a friend.
Let us know how you liked this simple DIY and tag us in your own creations on Instagram @dennison_dampier Until next time, Paulina Hey! I'm sure you have already checked out the new service we provide, residential organization and home staging, but if not then go take a look under the Services tab. The links I have attached below have helped me develop my own staging and organizing style. Take a look at what I have learned from these pros to sharpen up my own skills. Apartment Therapy www.apartmenttherapy.com/secrets-to-home-staging-8-mistakes-that-turn-off-potential-buyers-212281 Get to staging and don't forget to tag us in your final reveals on Instagram @dennison_dampier and like us on Facebook!
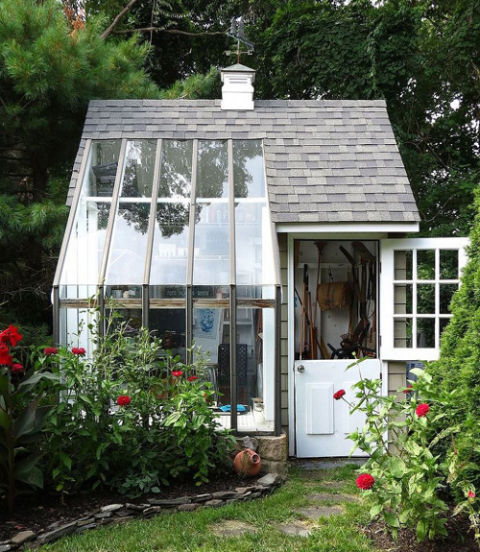
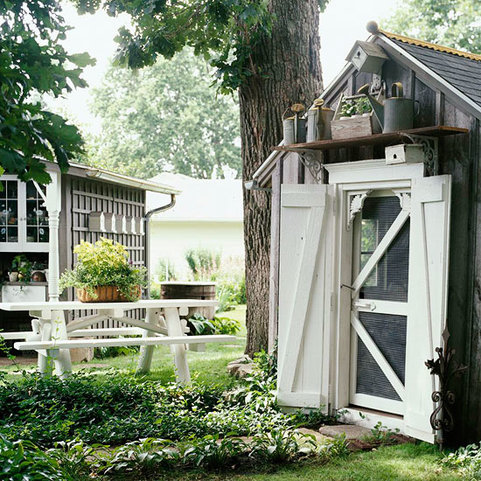
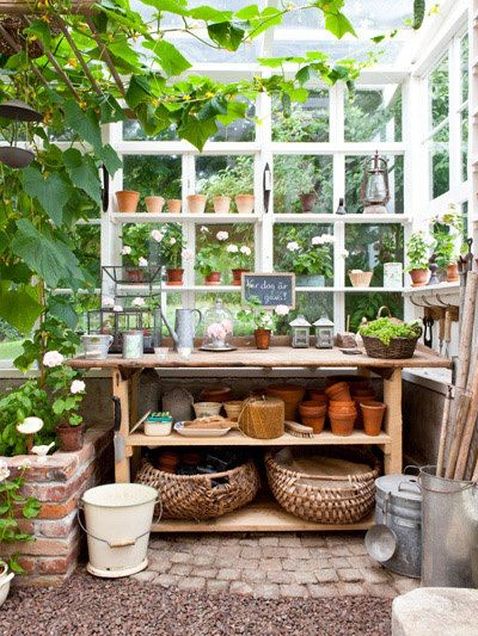
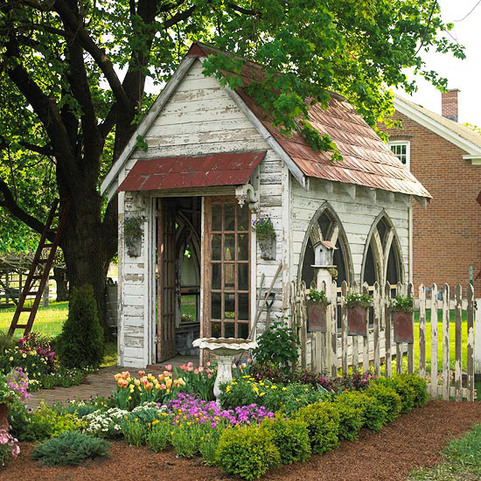
Leave us a comment and let us know what you think. Until next time, Paulina We are back with our weekly Garden Buzz! Today's post is about adorable potting sheds which serve as a great space for gardening and storage. They differ from greenhouses only by they way they are used and depending on how you'd like them built. Be environmentally friendly with gathering building supplies from your local architectural salvage yards. This is also great for those who are budget conscious. Take a look at these amazing potting shed designs. Be careful, some of these will give you "tiny house" envy. Here is a link for Better Homes & Gardens. Check out some of their incredibly designed sheds. www.bhg.com/home-improvement/outdoor/shed-playhouse/a-gallery-of-garden-shed-ideas/#page=21 Let us know if these inspired you to make (or purchase) your own potting shed. Show us your designs by tagging us on Instagram @dennison_dampier!
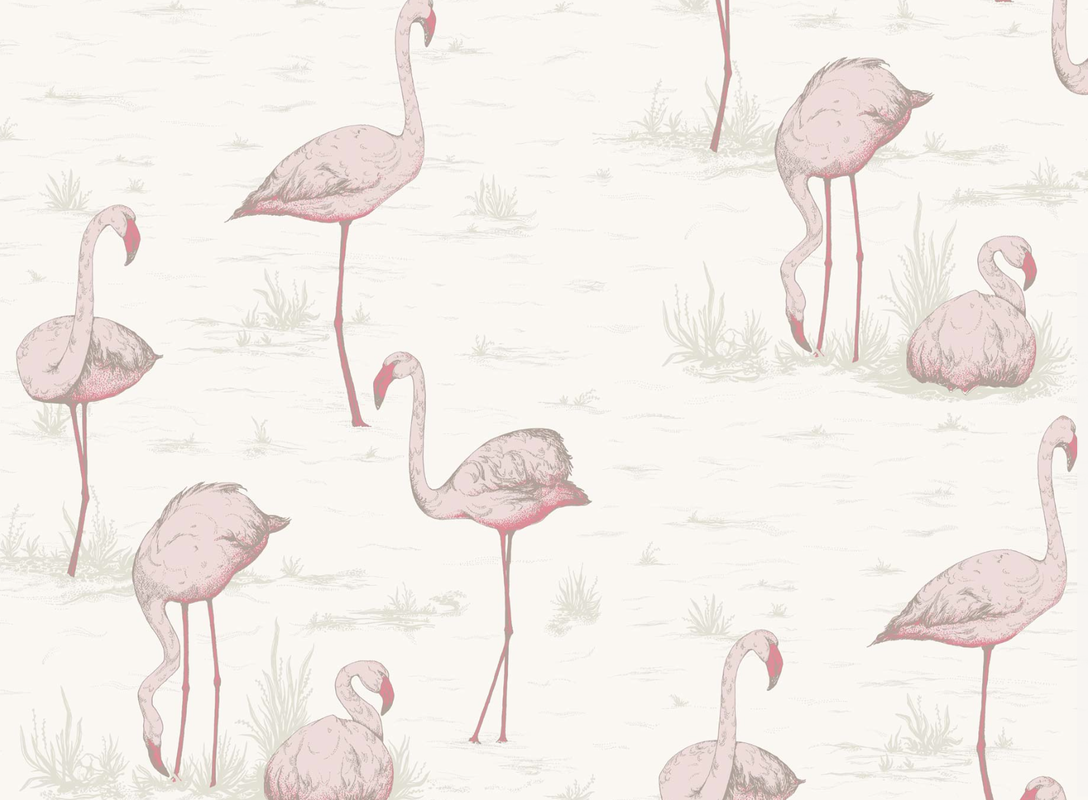
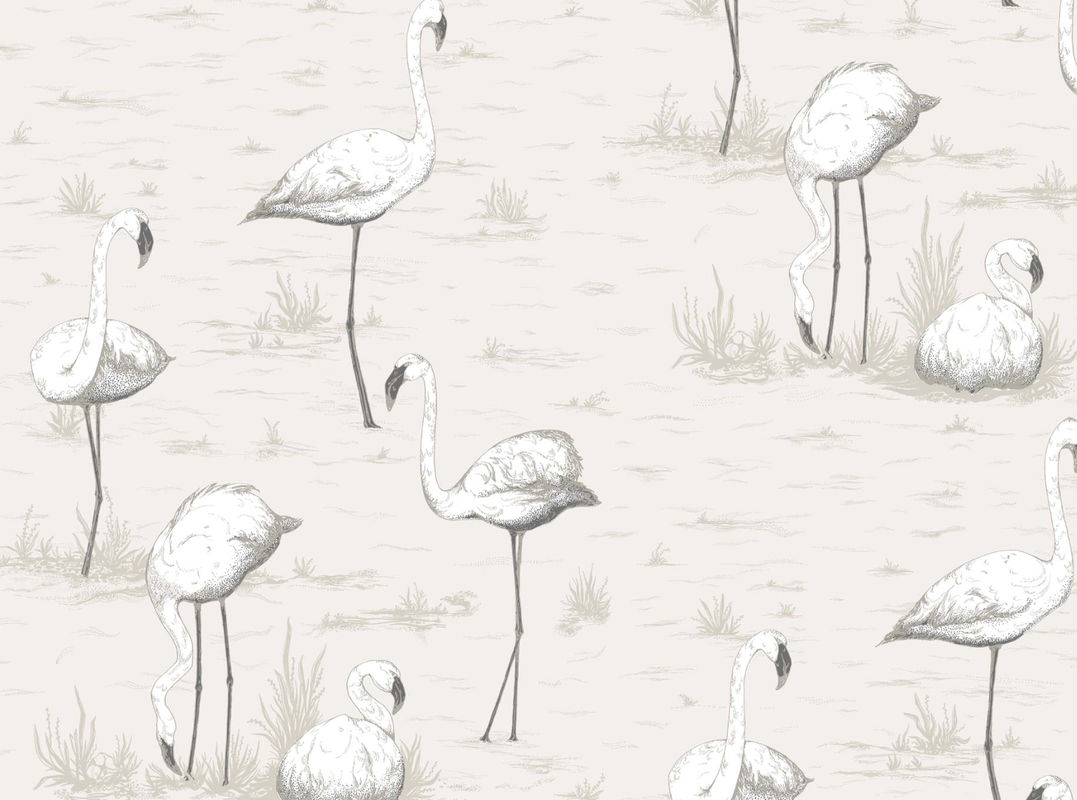
Until next time, Paulina Choosing a wallpaper can be so stressful because once you commit there is no turning back…well there is but you know what I mean. there are so many choices out there and it’s not always easy to chose where to place it. My best tip would be to not follow the trends because they always change and it will be expensive to keep up with them. Go with a pattern that will match most if not all your furniture and can still be flexible with decor items. Here are a few wallpaper ideas. Make a big impact in a powder room or a small bathroom with flamingo inspired wallpaper. This particular pattern is perfect because it steers away from the color filled popart look and into a more sophisticated yet fun concept. Keep the decor to a minimum here, sticking to a neutral pallet. A mix in texture with decor items is great addition without becoming overwhelming. You want the focus to be on this exquisite wallpaper. We completely forget about probably the most seen space in the whole house…the entry. Give it some dazzle with black and white dalmatian spots wallpaper. This one is on trend right now, but the great thing about it is that is will go with absolutely everything. The black and white color pallet makes it easy to decorate with vibrant items. Add gold, and metal finishes to add a bit of glamour. Or go with bright pink flowers and reclaimed wood entry table for a modern rustic look. If you are more of a traditionalist but want to try something more contemporary, go with a twist on traditional. The wallpaper shown above is a perfect example of how the modern and traditional duo work well together. In this particular wallpaper, the pattern is traditional with a contemporary silver outline which makes it fit both styles of a room. It is an ideal wall covering for a smaller space with a huge visual impact.
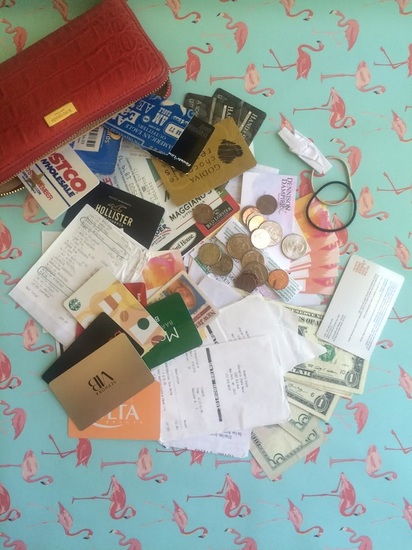
Let us know in the comments what you think and don't forget to check us out on Instagram @dennison_dampier for daily inspirations and project updates. Oh and like us on Facebook! Until next time, Paulina I try to post organization tips and trick for anything from house to everyday items. So this post will be about wallet organization/decluttering. Yes that's right, a wallet can most definitely be organized and in result become a less stressful item to search through.
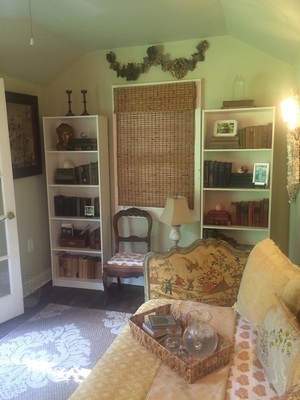
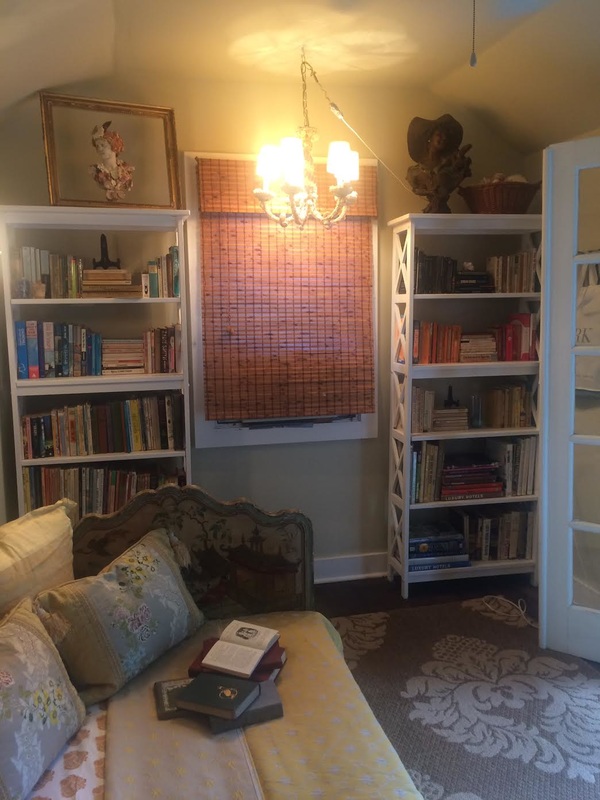
Here are just a few tips and steps to organizing your wallet. Whether you are a man or woman these tips will work for you. Start off by emptying the content. Go through the change, receipts, crumbled bills, and business cards. Think what is useful to keep and what can be tossed out. Collect all your change into a jar or a separate change purse to keep your wallet from looking over stuffed. ( It's always those little coins that destroy your wallet! ) I tend to use full bills so anytime I get change I put it away in a jar which I later deposit into the bank. You wouldn't believe how much you actually can save on change! ( Let me know in the comments if you would like to see change saving tips and tricks! ) Having a wallet with compartments makes it much easier to stay organized. Everything has its place and can be easily accessed. I like to separate my small bills from the large. It helps me be more conscious of what I am spending. As for the card slots, organize them by “most used”, easily accessible to “less used” tucked away on the bottom. If you have any gift cards or reward cards, try to keep them away from your daily used credit cards. This will help with keeping your most used cards easy to see and pull out. Hope this helps you in being and staying organized. Start with this small project and move on to room organizations and more. The sky is the limit! Let us know in the comments what you would like to read about next. Follow us on Instagram @dennison_dampier for daily inspirations and more! Like us on Facebook at Dennison & Dampier Interior Design and check out our profile on Houzz. Until next time, Paulina Whether you have built-ins or simply need more shelf storage, styling shelves can create a visually appealing concept.
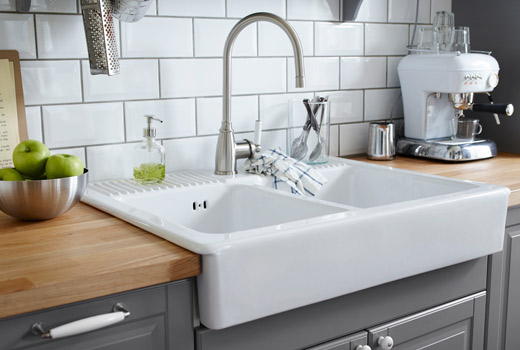
When it comes to the actual styling. Place a few books horizontal and a few vertical to create a visual interest. For a minimal look, only stack about 4-5 books, whether vertical or horizontal. You don’t need to use actual bookends for propping the books up. Try other objects that are heavy in weight. With the books lying horizontally, place an object on top of it. Whether it be a sculpture, a plant, or a picture. If you have a free standing bookshelf and space above it, feel free to place a few items on top. This will create a more grand appearance and enlarge the look of the room. Anchor a freestanding bookshelf with visually heavy objects on the last bottom shelf. It will make the bookshelf appear more grounded and it will create a visual balance. Layer picture frames by size to maximize the space as well as create visual interest. There is no right or wrong when styling your shelves. It is suppose to make sense to you and be visually appealing for you. Do it right, take your time and arrange and organize as many times as it take before you really like it. Also remember nothing is set in stone, you can always update and change your shelves. Add a few seasonal trinkets here and there for a more lived in- homey feel. Let us know how you like these tips and leave a comment. Check us out on Instagram @dennison_dampier for weekly updates and inspiration photos. Don't forget to like us on Facebook as well! Until next time, Paulina I don’t know about you but in my house the sink cabinet is always the messiest. People open it all the time for various reasons. The cabinet stores most of the kitchen cleaning supplies, extra paper towels, and the trash can. I wanted to make sure all of the space was used and was practical for everyday use.
I ended up putting in a tension rod to hang some of the cleaning supplies. It keeps them easily accessible and uses up the space in a practical way. I used a small crate in order to stack the extra cleaning supplies, completely maximizing the space above and below. This gave me enough room for the trash can. When it comes to arranging the items, think about practicality and how accessible you want them to be. Then it’s all down hill from there. Let us know if this was helpful and tune in for this weeks Decor & More. Check out our Instagram @dennison_dampier for more updates and inspiration photos. Like us on Facebook for project updates and more! |
AuthorsMary Dampier, Tara Dennison and Paulina Brajczewska. Archives
October 2016
|




 RSS Feed
