
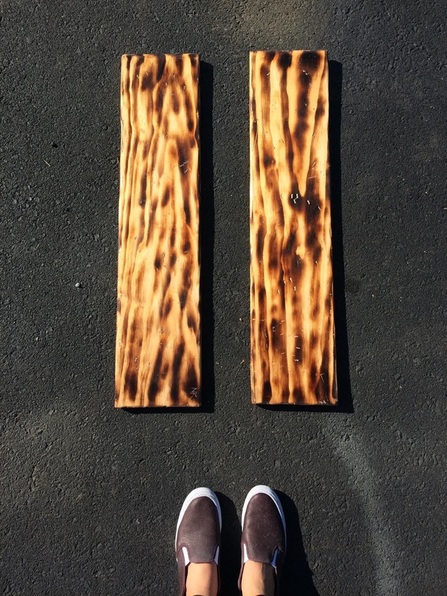
 Relaxation and water are the two words that make me think of a nice bath after a long day. Lighting up a few candles, pouring yourself a glass of your favorite wine and soaking in the hot bubbles is enough to make anyone wash away the stress of the day. If your bathroom is lacking bathtub storage like mine, this DIY bathtub shelf will come in handy. When you're not using it as a bathtub shelf, use it as a bench to sit on when showering. I started off with measuring the width of my tub…came out to about 3ft. I went to my local hardware store and purchased a 6ft Pine board for $8. I had an employee cut the board to the size I needed. I ended up with two 3ft boards. Next, I knew the wood would be exposed to moisture (since it's in the bathroom ) so I purchased a clear satin finish sealer. I didn't want to stain my shelf since I was going to surface burn it for a visual effect. Surface burn- when you apply heat to the top of a wooden board, going along the grain to achieve a burned effect. Feel free to stain your board any color that works with your bathroom. *** Make sure to do this project outside. There is sanding and burning involved. Since I was going for the rustic look I needed to distress the fresh cut boards. I used the supplies below to shape the board.  I used the knife to shave off the edges of the boards. The pliers and screw driver were used to make “nail” holes and aged distress. After I was satisfied with the general shape of the boards, I sanded down any sharp edges and smoothed out the top. *** Make sure to wipe down the boards with a damp cloth after sanding to remove the dust. It will help the sealer adhere to the surface. Next I used a blow torch to create the surface burns. After the board is cool to the touch you can go ahead and paint on a thin layer of the polyurethane. Use a wide sponge brush ( you can get them for 89 cents at the paint section) and with a light stroke brush on the sealer. Wait about an hour or until the sealer is tacky to paint on another layer. This will help the second coat to adhere in a smooth transition. Wait for the board to dry completely before sanding down any rough surfaces. Here are the supplies I used to achieve the final look. 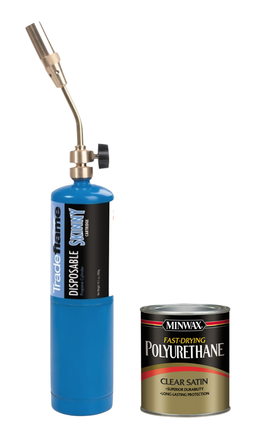 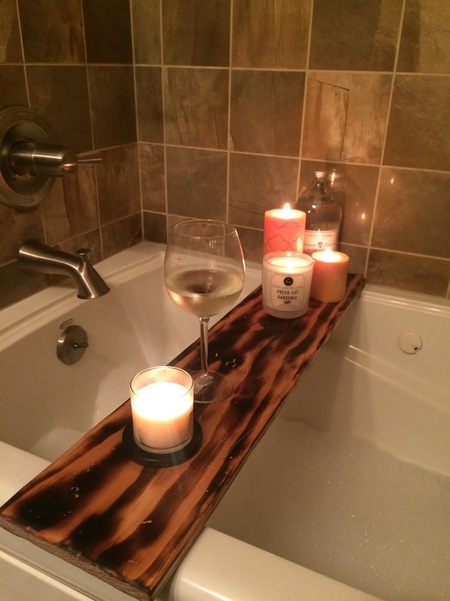 Voila! The finished product.
Since the board produced 2 shelfs feel free to gift one. Let us know what you think and leave a comment. Show us your own creations by tagging us on Instagram @dennison_dampier and like us on Facebook. Until next time, p
1 Comment
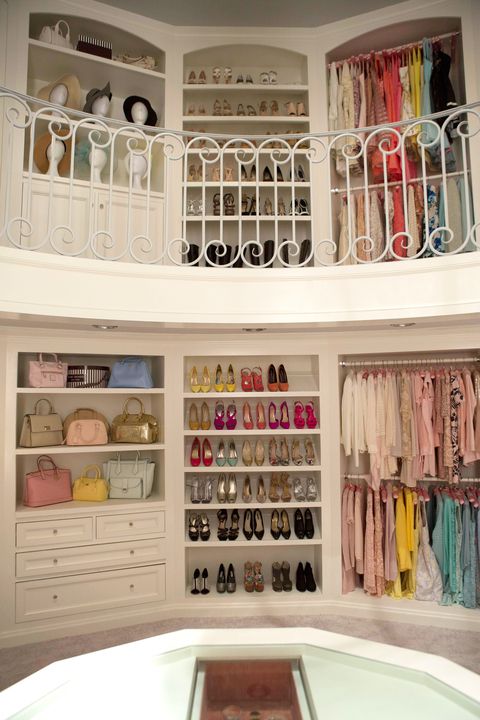 I wish the photo above was my actual closet...who doesn't ?!
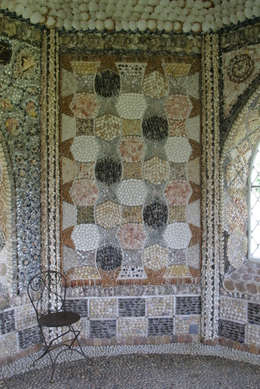
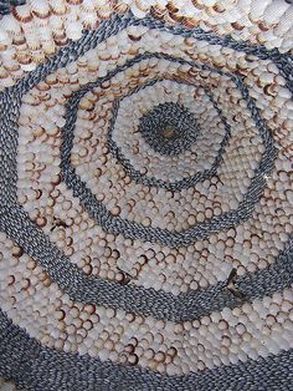
With the cold months rolling in it is time to swap your summer clothes for the sweater weather. Cleaning out your closet when season changes is a great way to stay closet clutter free. Start off with 2 bins, storage and donation. Go though your closet thoroughly. In your closet keep, dresses that can be layered and worn on cooler days. Shirts, that can also be layered under a sweater. The rest of your Summer attire can be separated between the 2 bins. Evaluate each piece and decide whether you will wear it next year. My suggestion is to keep the pieces that held up well with frequent use. Chances are you will wear them again. Any piece that has seen better days can go in the donate pile. Ask us question, we love to give you tips and suggestions as well as read yours. Let us know how you like this weeks Organization 101 post. Tag us in your Fall cleaning on Instagram @dennison_dampier and like us on Facebook. Stay tuned for an easy DIY project coming soon. Until next time, P 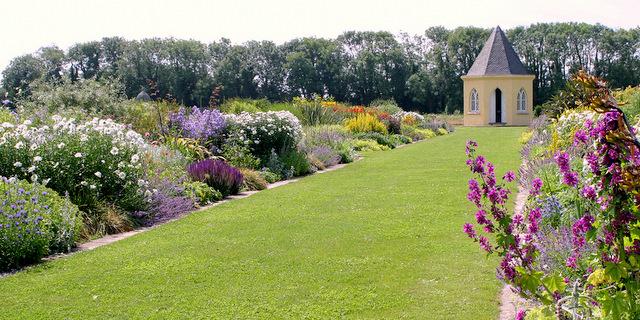 On this weeks Garden Buzz, here is a magical place everyone should visit on their next trip to Ireland. Talk about detail! Everything in this little house has been tiled with shells. Take a look and let us know what you think. Would this be a place you would love to see? 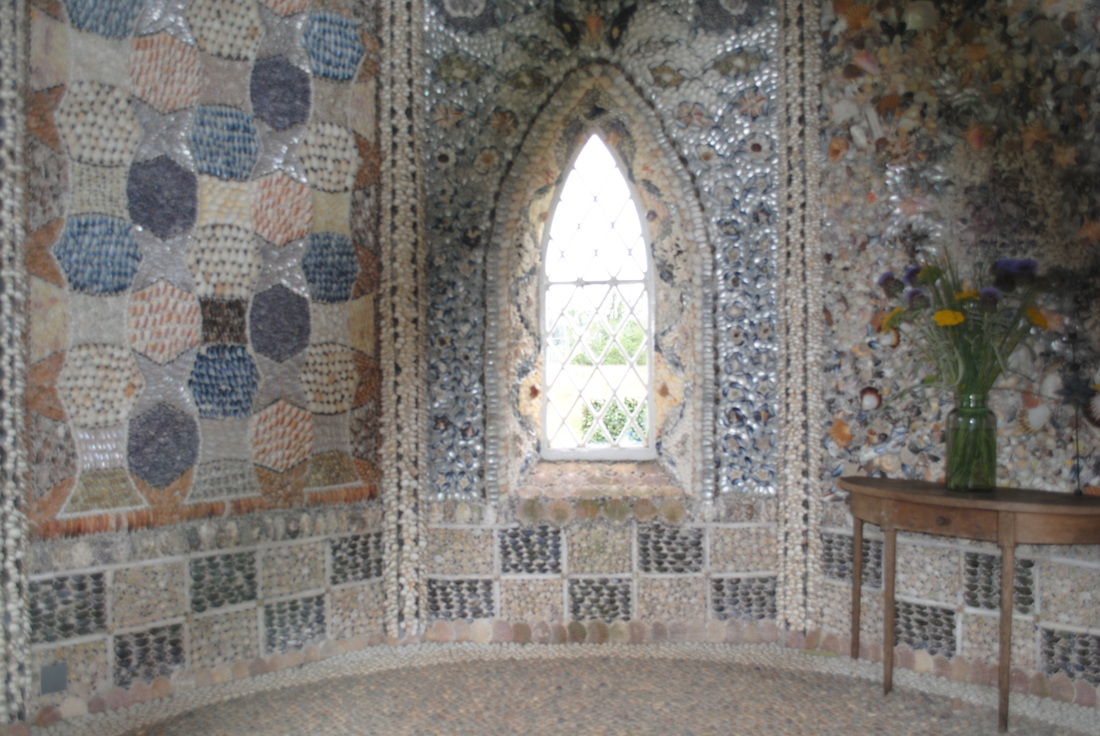
Let us know what you think in the comments. Keep in touch and follow us on Instagram @dennison_dampier and like us on Facebook.
Until next time, P 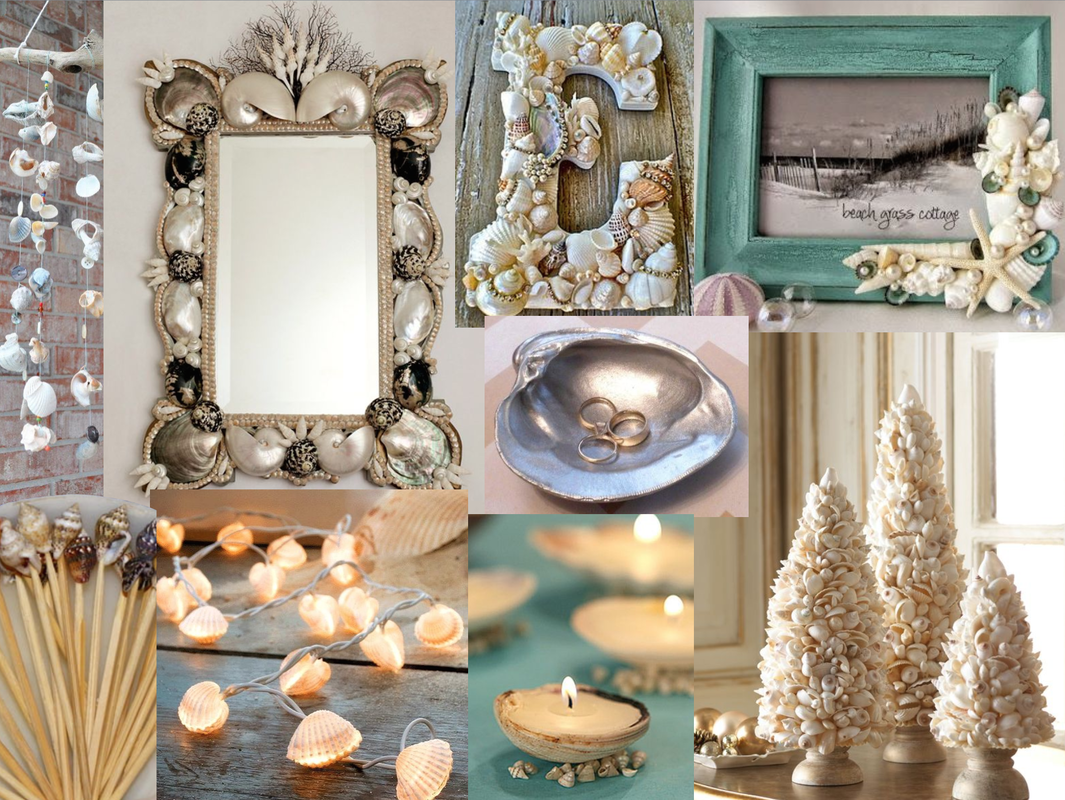 One way to keep the Summer spirit alive during these cooler months is to display those beautiful sea shells you found during your many trips to the beach.
These crafts are fairly easy and inexpensive. All you need is a hot glue gun and some hot glue sticks. Some of these do require a bit of time, do it on a rainy day. Start off by cleaning out all the sand and grit from your shells. Best way to go about that is to run them in the dishwasher on your next cycle. With the Holidays coming up, here are a few personalized stocking stuffers using sea shells.
Dont forget to share your creations with us by tagging us on Instagram @dennison_dampier or Facebook. Leave a comment and let us know what you think. We love feedback! Until next time, P 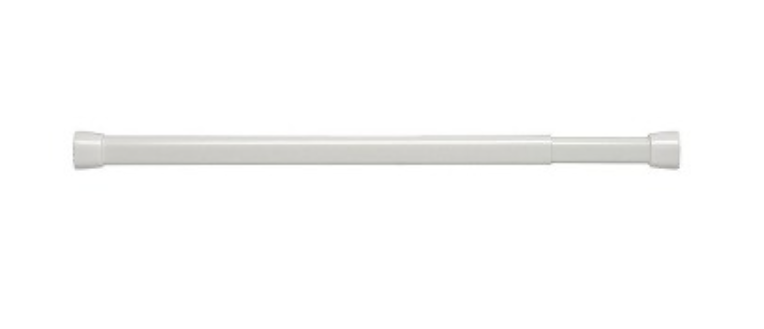 These little rods can have a powerful impact on your homes organization if you use them in the right areas.
The best thing about these, they are adjustable, making them the perfect size for any crevice of your home. Here are 8 ways you can use tension rods in your home.
Hope this post was helpful and some of these hacks will come in handy. Show us how you use tension rods around your home and tag us on Instagram @dennison_dampier. I'm thinking a laundry room makeover would be a fun post. Let me know in the comments if you'd like to see that. Until next time, P  Today’s Garden Buzz entry will be a DIY! Walking down the Fall isle at Home Goods made me want to start decorating for the season. This year we will be skipping the full outdoor Fall decorations but I still wanted my house to look season appropriate. Browsing through the store I spotted some beautiful wreaths. They had a great selection but I wanted something a little more unique, so I decided to use whatever resources I had in my back yard. I stopped at my local craft store and picked up a foam wreath circle. It only cost me about $7. I already had a hot glue gun, some glue sticks, and a burlap rope at home. ( Burlap rope is from a previous project ) Once I got home I started exploring the yard for some colorful foliage as well as anything else I thought would work. First, I hot glued the burlap rope around my foam wreath to conceal the actual foam. Then I started laying out my backyard finds in different configurations until I found the one I liked. 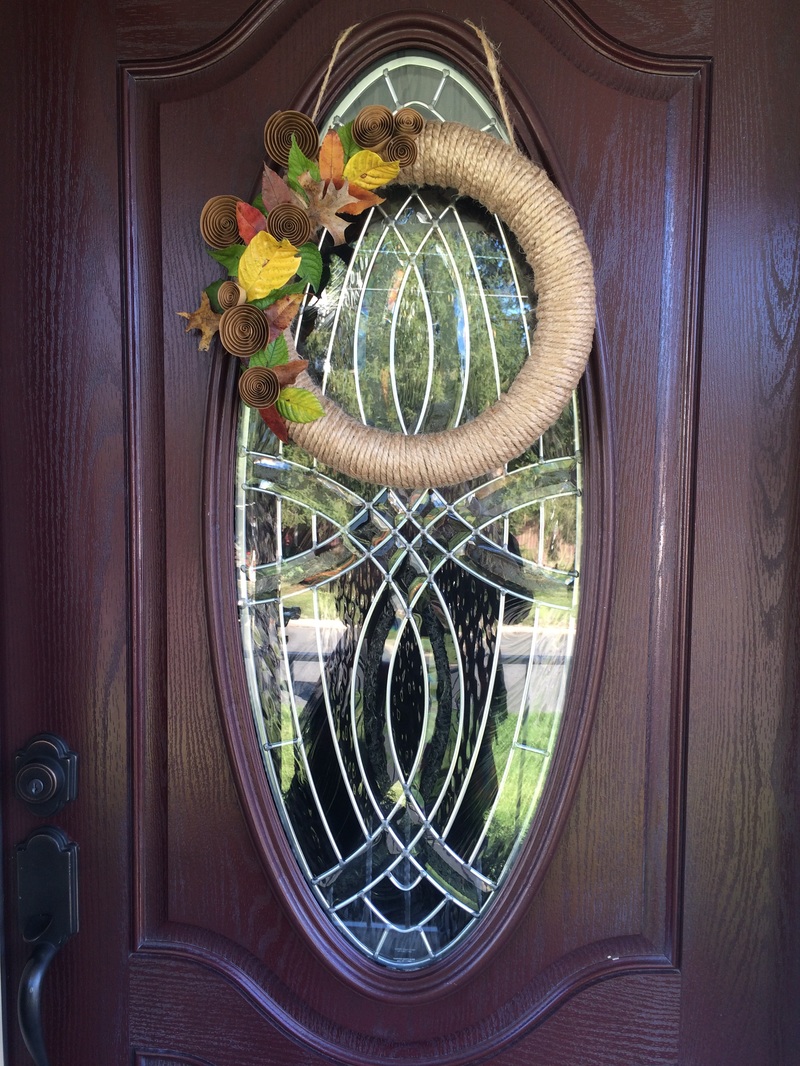 Voila! The finished product looks better than I expected. I saw these swirl paper flowers at my local craft store and decided to make some of my own. (<-- Craft Level: EASY) Feel free to add some pumpkins on your porch for a more defined October look.
Hope you enjoyed this little project and don’t forget to share your creations with us. Tag us on Instagram @dennison_dampier or Facebook. Do you have an empty wall in your house that you just don't know what to do with? Well here is a solution, make it into a gallery wall! Don't limit yourself to framed art work. Use anything that can be hung to create a visual interest, make a statement, or be displayed as a conversation piece. Here are a few ideas you can draw inspiration from! 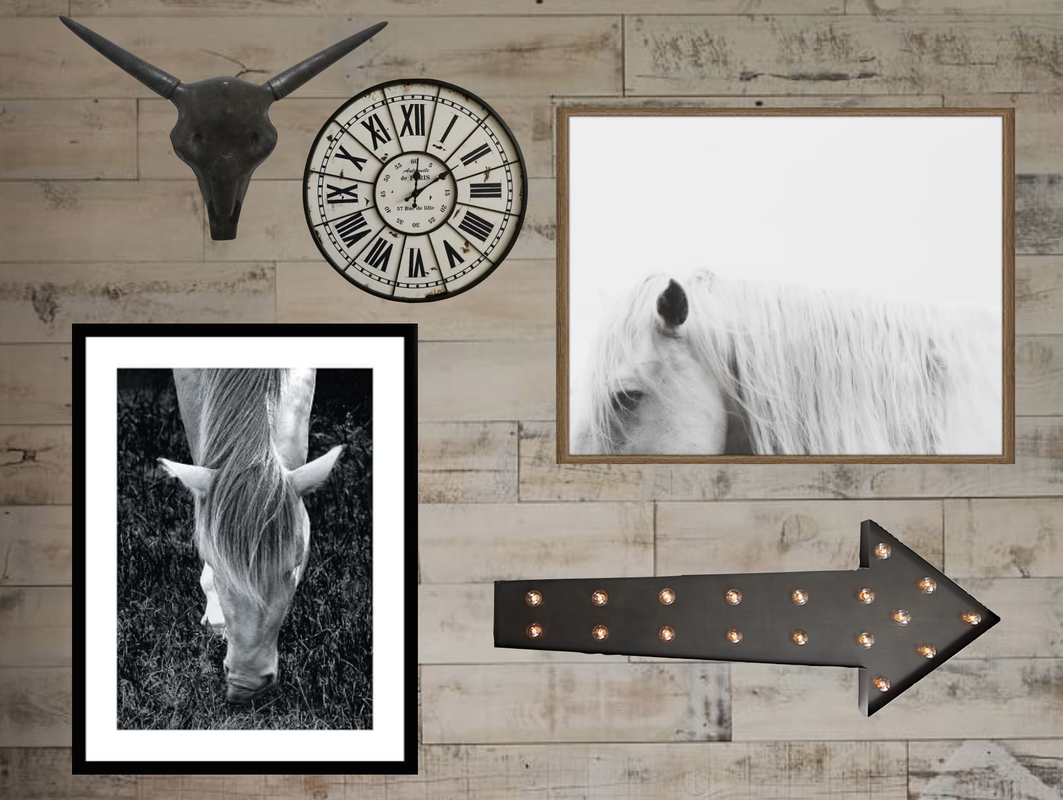 On this wall we started with an interesting texture with the wood panels in the back. Mix the textures when it comes to the wall decor. Here I went with a mix of metals and metal texture. 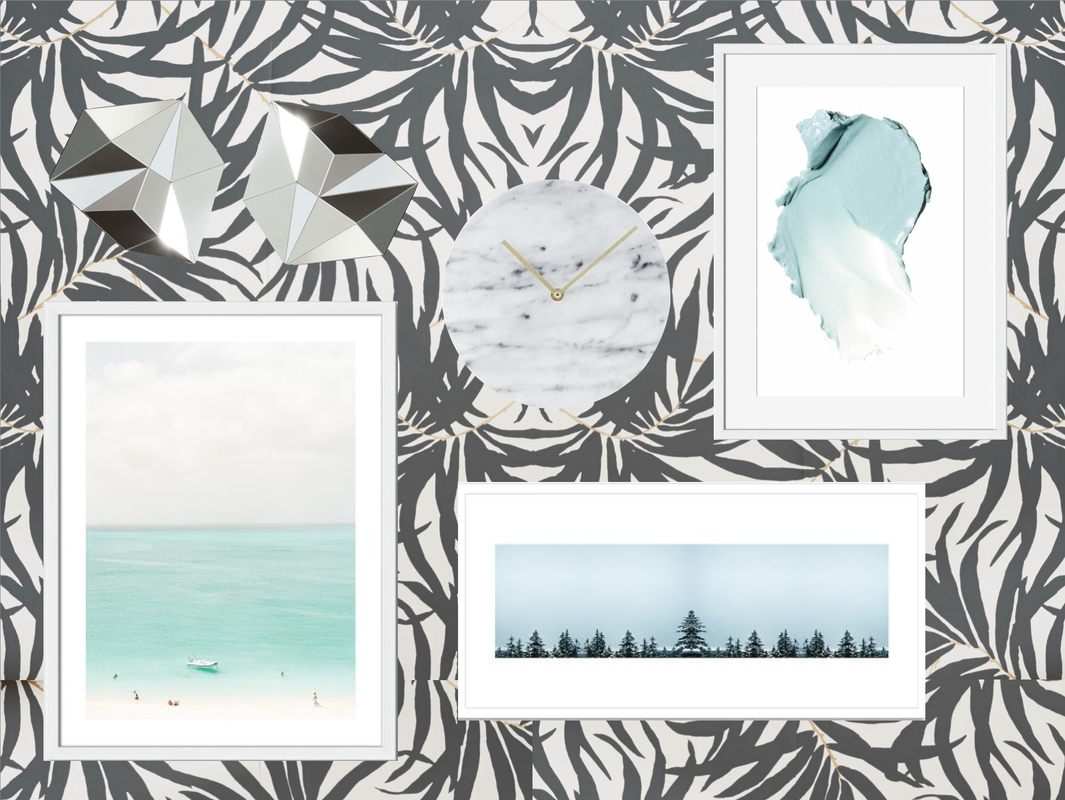 With this wall, we added a visual background using patterned wallpaper. For this I wanted a clean simple look of the wall decor since the wallpaper is so flashy. A modern feel with the use of clean white frames and calm photos. 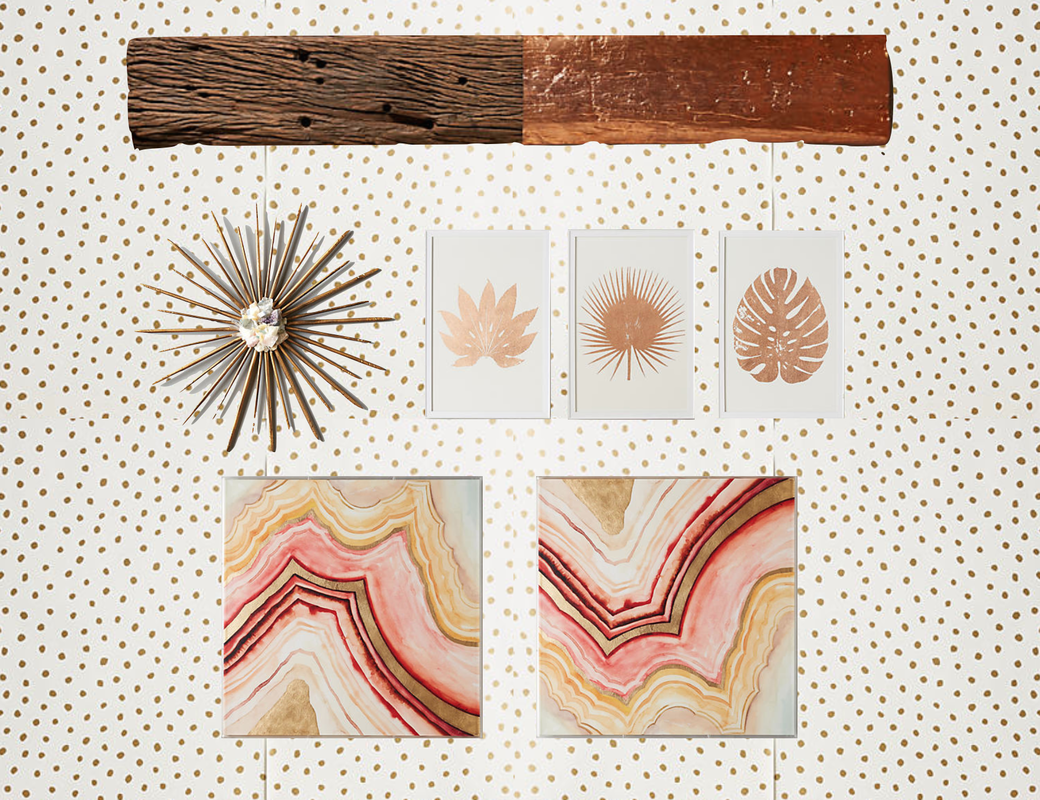 For this layout we went a little retro. Although we used metallic finishes we wanted to somehow incorporate nature. The large reclaimed wood block with half rose gold leaf finish was a perfect combination for the look we were going for. I can see this gallery wall in my own house. Of course you don't have to use wallpaper for these ideas. Feel free to create your gallery wall on any background that you wish.
Don't forget to tag us on Instagram @dennison_dampier with your creations. We love to see them! Until next time, P |
AuthorsMary Dampier, Tara Dennison and Paulina Brajczewska. Archives
October 2016
|
 RSS Feed
