|
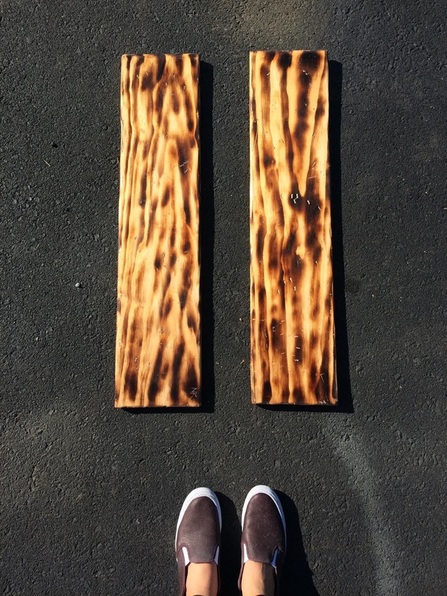
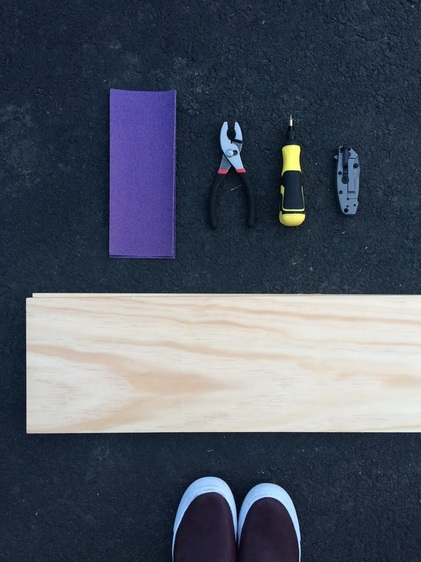
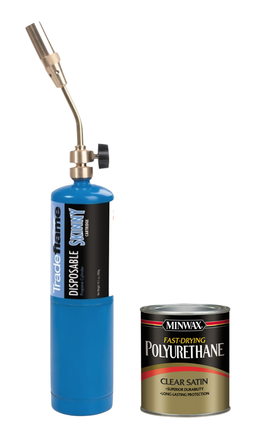
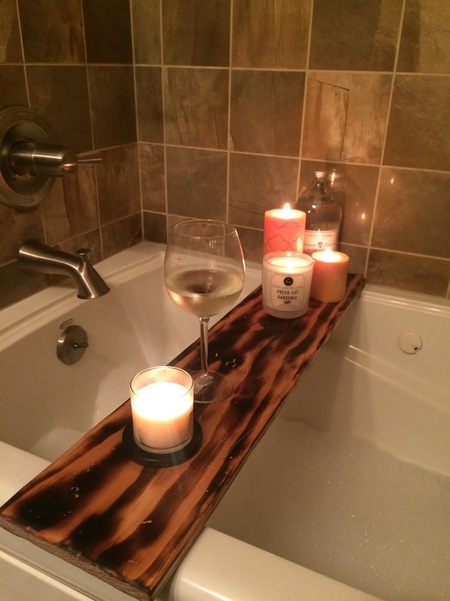
Relaxation and water are the two words that make me think of a nice bath after a long day. Lighting up a few candles, pouring yourself a glass of your favorite wine and soaking in the hot bubbles is enough to make anyone wash away the stress of the day. If your bathroom is lacking bathtub storage like mine, this DIY bathtub shelf will come in handy. When you're not using it as a bathtub shelf, use it as a bench to sit on when showering. I started off with measuring the width of my tub…came out to about 3ft. I went to my local hardware store and purchased a 6ft Pine board for $8. I had an employee cut the board to the size I needed. I ended up with two 3ft boards. Next, I knew the wood would be exposed to moisture (since it's in the bathroom ) so I purchased a clear satin finish sealer. I didn't want to stain my shelf since I was going to surface burn it for a visual effect. Surface burn- when you apply heat to the top of a wooden board, going along the grain to achieve a burned effect. Feel free to stain your board any color that works with your bathroom. *** Make sure to do this project outside. There is sanding and burning involved. Since I was going for the rustic look I needed to distress the fresh cut boards. I used the supplies below to shape the board. I used the knife to shave off the edges of the boards. The pliers and screw driver were used to make “nail” holes and aged distress. After I was satisfied with the general shape of the boards, I sanded down any sharp edges and smoothed out the top. *** Make sure to wipe down the boards with a damp cloth after sanding to remove the dust. It will help the sealer adhere to the surface. Next I used a blow torch to create the surface burns. After the board is cool to the touch you can go ahead and paint on a thin layer of the polyurethane. Use a wide sponge brush ( you can get them for 89 cents at the paint section) and with a light stroke brush on the sealer. Wait about an hour or until the sealer is tacky to paint on another layer. This will help the second coat to adhere in a smooth transition. Wait for the board to dry completely before sanding down any rough surfaces. Here are the supplies I used to achieve the final look. Voila! The finished product.
Since the board produced 2 shelfs feel free to gift one. Let us know what you think and leave a comment. Show us your own creations by tagging us on Instagram @dennison_dampier and like us on Facebook. Until next time, p
1 Comment
Leave a Reply. |
AuthorsMary Dampier, Tara Dennison and Paulina Brajczewska. Archives
October 2016
|


 RSS Feed
